Hanging wall décor should be a simple joy—the final touch that brings personality and style to your space.
But let's be honest: it’s often one of the most frustrating DIY projects imaginable.
Crooked frames, unnecessary wall damage, and awkward placement can quickly turn a fun project into a headache. We’ve all been there.
To help you hang your art, mirrors, and shelves like a seasoned pro—straight, centered, and without creating a single extra hole—we've uncovered the **10 most common mistakes people make when hanging wall décor**, and exactly how to avoid them.
Let's transform those "DIY tragedies" into design triumphs.
---
## 💥 Mistake #1: "Eyeballing It" (Skipping Measurements & a Level)
Ah, the classic "I’ve got a good eye" approach. It almost *always* leads to uneven décor and multiple nail holes.
Measuring seems straightforward, but transferring those two mounting points from your décor to the wall is where things go wrong.
**The Traditional Hassle:**
* **The Tape Measure Tango:** You need a tape measure, paper to write down the measurement (was that 3/16 or 5/16?), and a prayer that you read it right the first time.
* **The Leveling Act:** You meticulously mark your spots, only to find they aren't level. You adjust one mark, accidentally move the level, and suddenly you’re back at square one.
It feels like a guaranteed recipe for failure.
**🚫 The Old Way is Hard:** Even experts struggle with this process. It’s fiddly, time-consuming, and prone to human error.
**✅ The Pro Tip:** **Always measure and mark *before* you drill.** If you have multiple patch jobs hiding behind past art projects, you know exactly what we mean.
> **💡 A Smarter Way:** What if you could skip the tape measure, the level, and the painter’s tape entirely? (More on the ultimate shortcut later...)
***
## ⚓ Mistake #2: The "Wing It" Hardware Approach
Choosing the wrong anchor is one of the top reasons décor ends up crashing to the floor. A simple finishing nail might work for a small photo, but it won't hold that heavy mirror on drywall.
**✅ The Pro Tip:** **Match your anchor to the wall type** (drywall, plaster, brick, or concrete) and the precise weight of your item. When in doubt, go heavy-duty.
***
## 📐 Mistake #3: Hanging Artwork in the Stratosphere
A widespread decorating mistake is hanging art too high, making the room feel off-balance and disconnected. Art is meant to be viewed comfortably!
**✅ The Pro Tip:** **Aim for the Art Gallery Standard.** Hang artwork so its center is about **57–60 inches from the floor**. This is the average human eye level.
***
## 💪 Mistake #4: Ignoring Wall Studs and Weight Limits
If you’re hanging something heavy—a large, ornate mirror or a loaded shelf—ignoring where your structural support is located is a major hazard.
**✅ The Pro Tip:** **Invest in a Stud Finder.** If you can’t hit a stud, use heavy-duty wall anchors specifically rated for your item’s weight (check the package limits!).
***
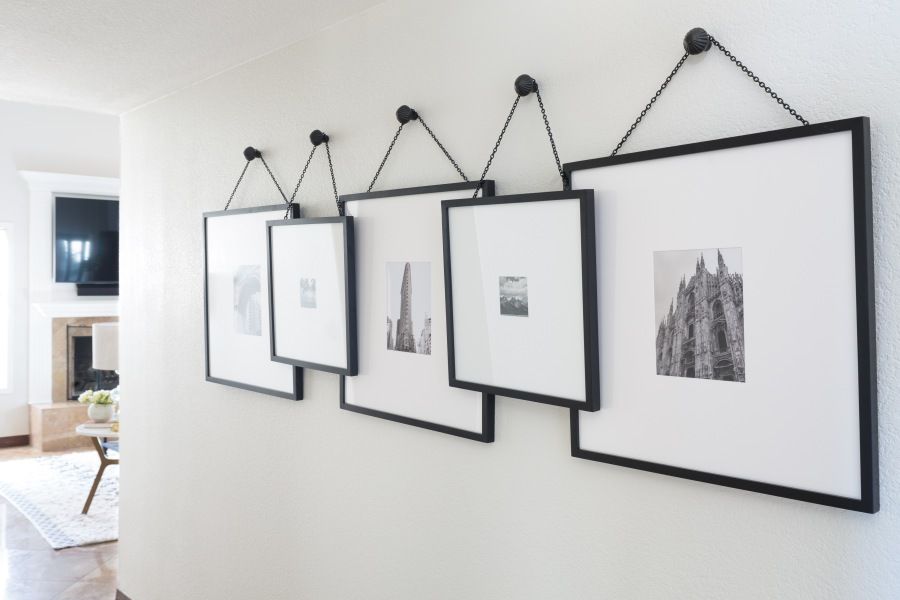
## 🖼️ Mistake #5: Poor Spacing and Scale (Too Small, Too Big)
Hanging a tiny 4x6 photo on a massive, empty living room wall can make the whole room feel off-balance and empty.
**✅ The Pro Tip:** **Think Proportionately.** Choose art that fits the wall’s scale. When creating a gallery wall, keep a consistent 2–3 inches of space between each frame for a cohesive look.
***
## 🧘 Mistake #6: Ignoring the Room’s Balance
Sometimes people hyper-focus on one wall and forget how it interacts with the furniture and décor on the other side of the room.
**✅ The Pro Tip:** **Take a Step Back.** Before drilling, step back and look at the entire space. Distribute your décor evenly to create visual harmony.
***
## 💡 Mistake #7: The Glare Factor
Even a perfectly hung piece of art can look dull or obscured under the wrong lighting conditions.
**✅ The Pro Tip:** **Watch the Light.** Avoid placing shiny frames directly opposite bright windows or harsh lamps. Use accent lighting (track lights or picture lights) to highlight your favorite pieces effectively.
***
## 🚫 Mistake #8: Using Weak or Improper Hooks
Lightweight adhesive strips or flimsy hooks often fail when pushed beyond their limits. A falling frame is more than just frustrating—it’s a safety hazard.
**✅ The Pro Tip:** **Check the Weight Rating.** *Always* verify the maximum weight rating on your hanging hardware before you commit to using it.
***
## 📝 Mistake #9: Not Planning the Layout First
Hanging items one at a time without a "master plan" often results in a mismatched, chaotic gallery wall.
**✅ The Pro Tip:** **Template Your Success.** Lay everything out on the floor first. Even better, use painter's tape or paper templates cut to the size of your frames to test spacing on the wall before you touch a drill.
***
## ✨ Mistake #10: Forgetting Wall Prep and Cleanup
Skipping basic prep can lead to failed mounts (if using adhesives) or visible smudges and pencil marks once the art is up.
**✅ The Pro Tip:** **Prep the Surface.** Clean the wall surface lightly before hanging anything. And always have some spackle and touch-up paint ready when rearranging décor!
***
## Wait, Did I Say 10 Mistakes?
There's actually an **11th**—and biggest—mistake:
## ❌ Mistake #11: Not using EZ Mount Plus.
Let's be honest: even with all these tips, the traditional process of measuring, leveling, and marking is stressful. It’s easy to have a failure and tragic results that prevent projects from ever getting off the ground (literally!).
**EZ Mount Plus** is our **patent-pending**, all-in-one mounting tool that helps you level and center décor *without* needing a tape measure, a separate level, or that roll of painter’s tape.
It really is the best way to mount pictures, shelves, TVs, mirrors, and décor. It saves time, prevents extra wall damage, and makes the whole process foolproof.
***
## Final Thoughts: Hang Straight, Stress Less
Hanging wall décor doesn’t have to be frustrating. With the right planning—and the right tools—you can achieve a professional, balanced look every single time.
If you want to make the process easier, faster, and guaranteed to be perfect the first time, check out our **patent-pending** wall mounting tool:
Your walls deserve better.